The closet in my guest bedroom has bags and bags of yarn in it. Why, you ask?
Well, it's not because I jump on every yarn sale like some yarn addicts I know, but because I have an aunt who downsized her yarn stash significantly within the past couple of years. Somehow, through a sequence of events {that I am too ashamed to share - that would mean admitting I love yarn more than I am willing to own up to}, a few garbage bags of said yarn made it's way to my house and has taken up in the closet.
Well, it's not because I jump on every yarn sale like some yarn addicts I know, but because I have an aunt who downsized her yarn stash significantly within the past couple of years. Somehow, through a sequence of events {that I am too ashamed to share - that would mean admitting I love yarn more than I am willing to own up to}, a few garbage bags of said yarn made it's way to my house and has taken up in the closet.
So when I decided to make a yarn wreath the other day, you can imagine I didn't have a hard time finding enough yarn to choose from.
Yeah, I know, I know. Yarn wreaths were so last year. However, this is no ordinary yarn wreath!
Here's a twist on what I did: I didn't just run to Hobby Lobby and grab any old wrapped straw wreath. Oh no. I headed to Menard's. {For those of you who aren't familiar with Menard's, replace 'Menard's' with 'Home Depot'... Menard's may be a Midwest thing.}
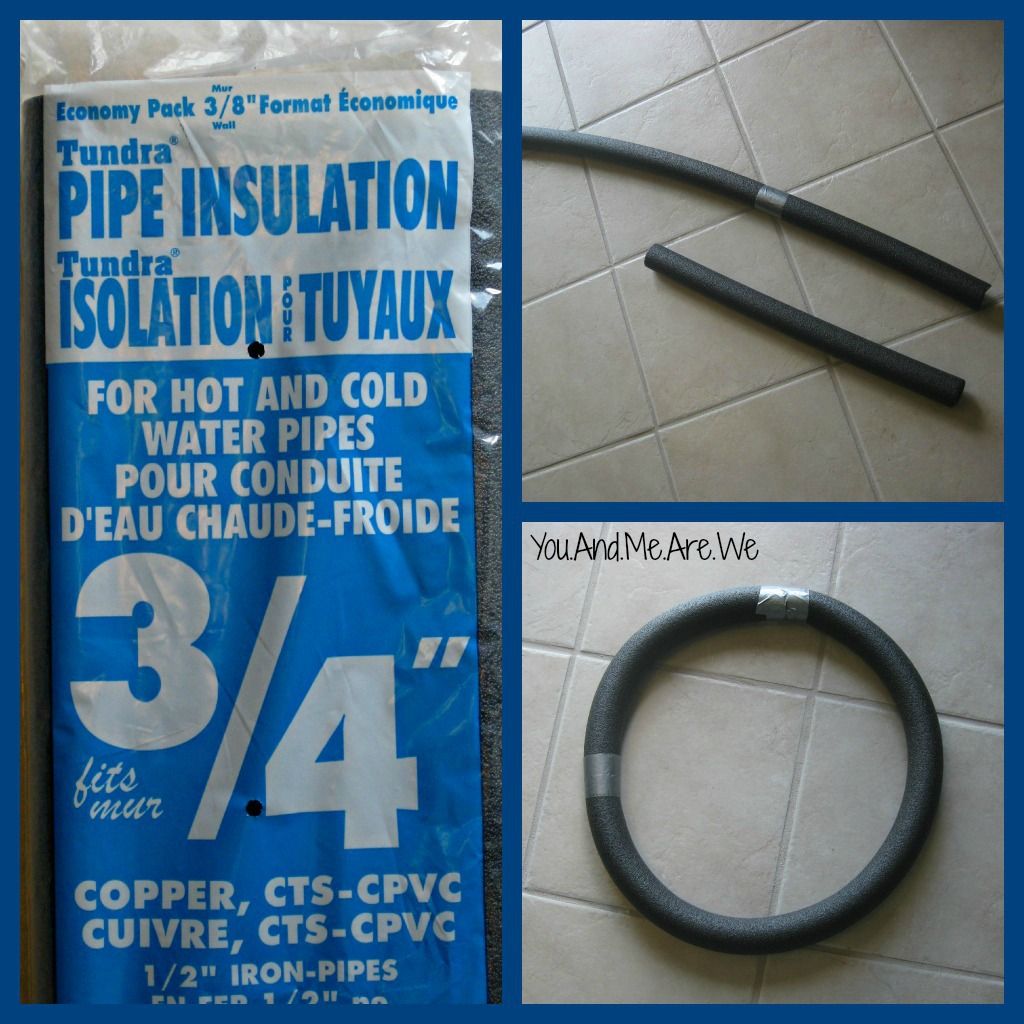
And there, at Menard's {Home Depot}, in one of the plumbing aisles, I found my next yarn wreath. For literally something like 63 cents. Yes. $0.63.
That pack on the left was $2-something {with 4 lengths of foam insulation}... and I used a little more than one length. It was more than enough - in fact, I'd consider going smaller for my next wreath, so that would make the cost even less.
I used duct tape to tape the ends of the foam together, if you couldn't tell. Yeah, I do my crafts with classiness - and duct tape.
Then I started wrapping... and wrapping...
...and wrapping.
It took me longer than usual because I didn't want my yarn to overlap. All of the yarn wreaths I've made up until this point were all haphazardly wrapped. I decided it was time for me to display a bit of patience and make sure this one was lined up nicely. To secure the loose end of yarn, I used a dab of hot glue. And then, to make sure my nicely lined up yarn will stay in place forever, I glued a ring of hot glue along the backside.
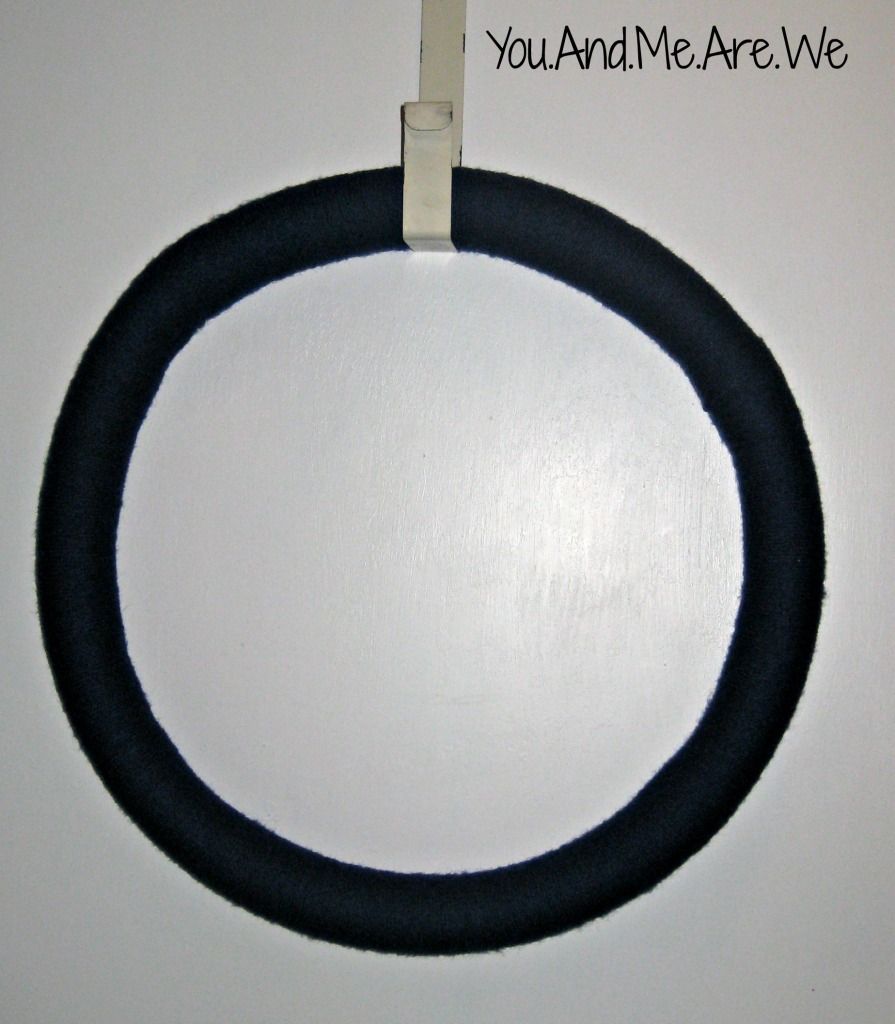
And this is how it looked when it was completely wrapped up {but naked}!
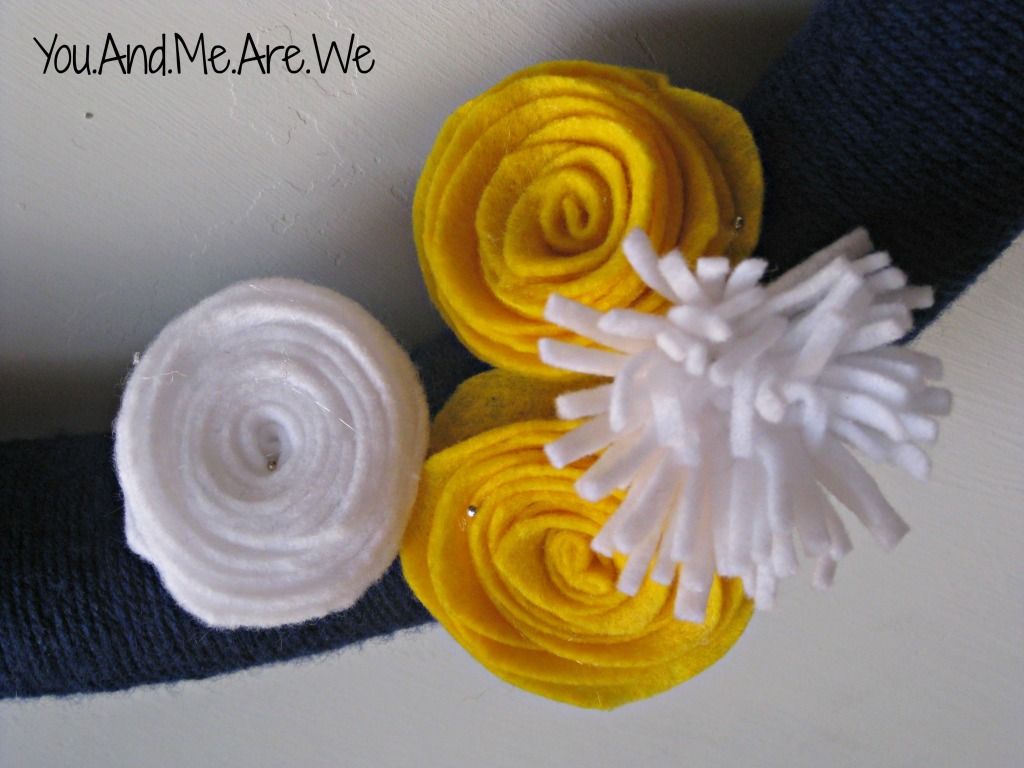
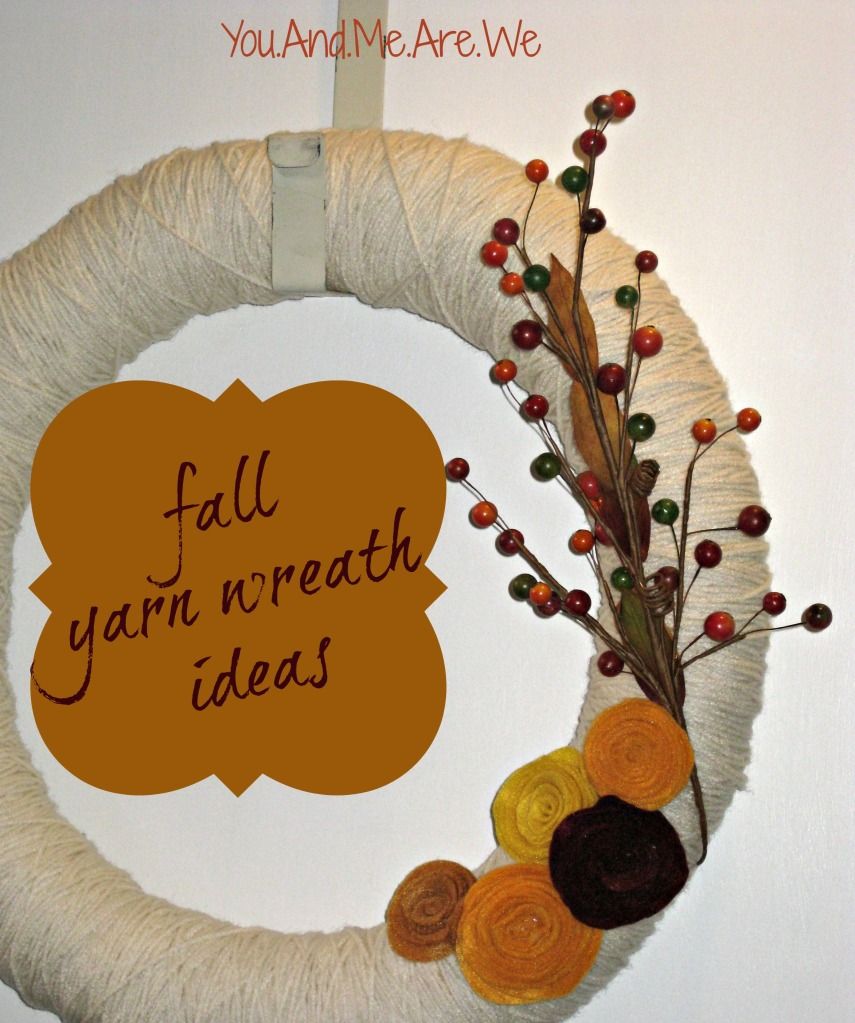
I added some felt flowers I've used on past wreaths, and TA-DA!
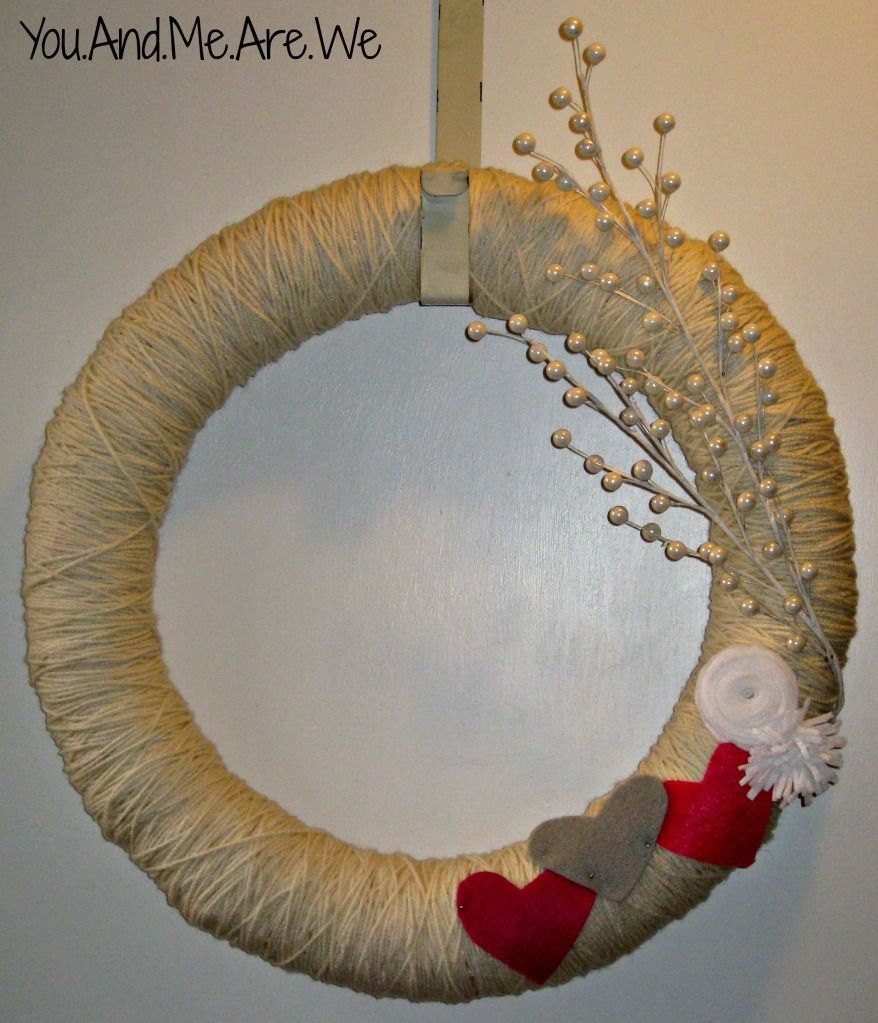
I can never decide how I want to 'accessorize' my wreaths. Felt flowers or sprigs of little-balls-on-wire or both? Lots of flowers, only a few felt flowers? The choices are endless!
This?
Or this?
Notice that the two pictures above are the same wreath, but accessorized with different felt flowers and ball-wire-things? Yeah, I definitely just have a stash of different accessories and mix and match to decorate for the season. It's totally easier that way; you should try it!
Have you made any yarn wreaths? How have you decorated them to go with your home decor or the season?





Oooh either option look great! Good job! I applaud your patience!
ReplyDeleteGreat Job! Doesn't it seem to take FOREVER to wrap the yarn when you are trying not to overlap!?! Worth the extra hassle :)
ReplyDeleteLOVE it!! Even the other ones you've made that are wrapped kinda messy, still look awesome to me!! I think it looks handmade that way. :)
ReplyDeleteohmigoodness! I'm so glad you mentioned that those last two pics are the same wreath! They look so different I didn't even notice. That's awesome that they are so versatile.
ReplyDeleteThat wreath is adorable! Think I am going to ask my mom and sister if they have any yarn they don't plan on using for anything. ;) They both knit, so they always have lots of yarn!
ReplyDeleteShut up. You can cook and craft?! Way to make a girl feel bad on a Thursday night.
ReplyDelete